Recently I learned that SQL BITS was going to be an online event. The organizers also decided to do another approach and let the presenters record their sessions. I’m pretty familiar with SLOBS and have been streaming content for the last few months. This gave me some experience in setup scenes and other parts of SLOBS a little more efficiently and make it easy to record my session. Here are some of the things I did to make things easier.
- Setup with a green screen
- Setup multiple scenes
- Setup hotkeys
Setup with a green screen
If you don’t have a green screen yet, you can get a green screen from Amazon for about 60 euros which include a stand and the green screen itself.
The nice thing about this is, is that you’ll be able to set the opacity of your background and make it transparent. Make sure your lighting is correct and make the quality of your video as good as it can be. Without the proper lighting, you may see some sections in your video that look distorted.
Using the green screen makes it possible to show more of your screen and it distracts the viewer less letting them focus on your content.
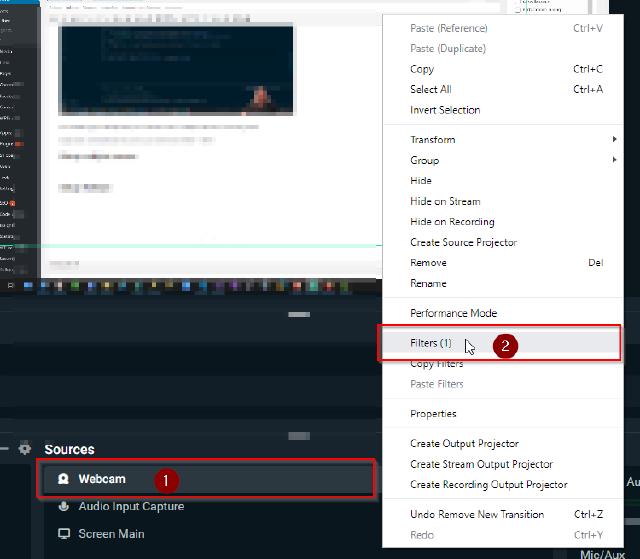
I’m assuming you already have your webcam source setup and that it’s receiving input. Right-click on the webcam source in your scene and select “Filters”
Click the “+” sign, look for “Chroma Key” in the filter dropdown list, and click “Done”.
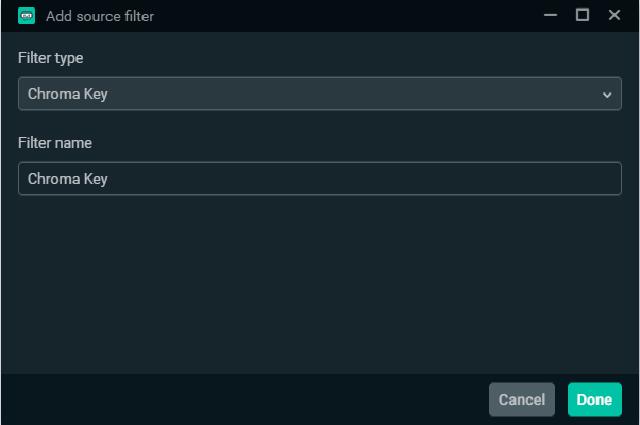
You’ll see something like this

You may tweak some settings based on your lighting, the color of the green screen, etc but in the end, you’ll have a transparent background.
Setup multiple scenes
One thing that helps, and what BITS wanted people to do, is to create multiple scenes. In their document, they mentioned two scenes, one with your camera filling the screen and one for your slides/demos.
Fortunately, I have multiple screens, a laptop, and a separate monitor, which enables me to separate the slides and my demos.
This will make the transition smoother and I don’t have to close the presentation. This is what I created
- Full Camera
- Presentation Slides
- Presentation Demo
SQL Bits Camera This scene was set up with only the webcam and the audio input capture source.
SQL Bits Presentation Slides This scene had the webcam, the audio input device but also the display capture set to my screen that would show the slides.
SQL Bits Presentation Demo This scene was almost the same as the presentation slides, the only difference was I created a new display capture source that would show my screen that contained the demos.
Setup Hotkeys
One other thing I enabled was the setup of hotkeys in SLOBS. When your recording your session you want the transition between scenes to be as seamless as possible.
In my case, it was a bit difficult to switch the scenes without showing the SLOBS screen somewhere in the recording.
Instead, I wanted to use hotkeys that would switch me from my presentation scene to the demo scene. This turned out to be very easy to do.
- Go to your settings in SLOBS
- Click on Hotkeys
Find the scene your want to set a hotkey for and look for the field “Switch to the scene”.
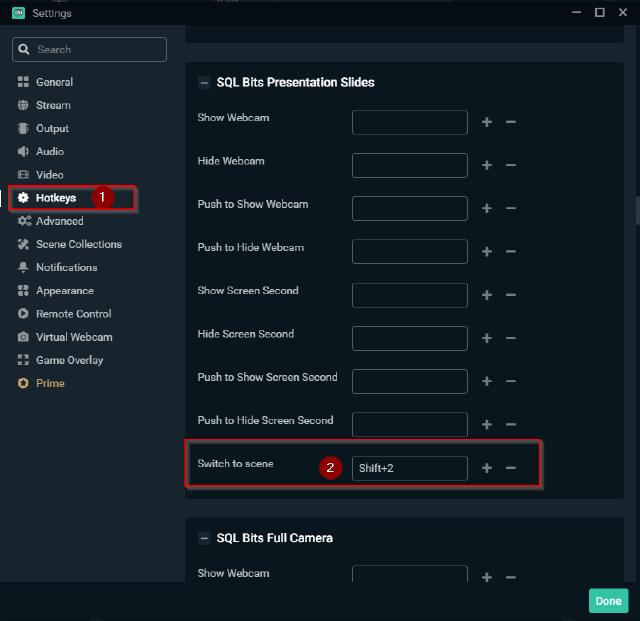
In my case, I used the combination Shift-1, 2, or 3. Why the Shift button? Well, I also use ZoomIt and the default settings for that application are Ctrl-1, 2, and 3.
Of course, you use any key you want but this made sense to me. My full webcam display is set to number 1, my slides scene is set to number 2 and my demo scene is set to number 3.
You don’t have to have the SLOBS screen active to switch between the scenes. I hope this was useful for you. If you have any comments let me know