Being a fan of automation I like to create my own PowerShell profile. It enables me to load various settings that normally take more time.
The PowerShell profile resides in your home directory and if you work in an AD environment with roaming data you’ll have the same profile on every computer. PowerShell profiles are not new and dates back to PowerShell v2.0.
Others people have written about this subject before but I wanted to share my take on it.
Create the profile
To check if you have a profile execute the following command:
Test-Path $profile

If this returns false it means you don’t have a profile and you have to create one. The easiest way to do that is by executing the following:
New-Item -Path $profile -type file –force

From this point on you can put in anything that helps you speed up.
PowerShell drives
I have several directories which I use regularly. Instead of having to type the entire path I can create a PowerShell drive.
# Create drives
New-PSDrive -Name Git -PSProvider FileSystem -Scope Global -Root "C:\\Users\\User\\OneDrive\\\_Git" | Out-Null

New-PSDrive -Name Development -PSProvider FileSystem -Scope Global -Root "C:\\Users\\User\\OneDrive\\\_Development" | Out-Null

Now instead of having to type the entire path I can simply use the new drive. This not only speeds up the way you enter your directory but also simplifies the reference to your current working directory.
Credentials
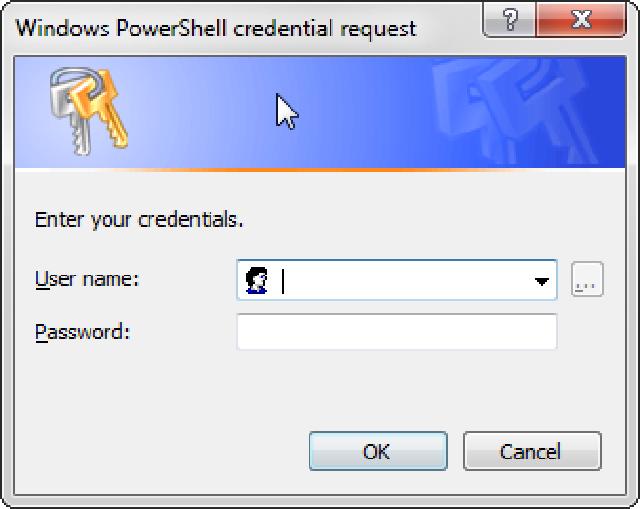
The next thing I do is when I’m part of a domain I usually need another user account to access my database servers. So I call the next piece of code to enter the credentials for my administrative account:
# Ask for a credential for later use
if ((Get-WmiObject Win32\_ComputerSystem).PartOfDomain) {
    $Credential = Get-Credential
}

You can reference the $Credential parameter to other functions that need more privileges. For instance, if you use dbatools , a lot of the commands have this parameter to make sure you connect to the SQL Server instance with the right credential.
Color schemes
Color schemes are important. There have been studies that show that certain fonts and colors make working on a console easier for the eyes. I don’t like the colors for errors and warnings and if I have to go through a lot of them it’s hard to read the bright red on the blue background.
# Console color schemes
$console = (Get-Host).UI.RawUI

$host.PrivateData.ErrorBackgroundColor = "Red"
$host.PrivateData.ErrorForegroundColor = "White"
$host.PrivateData.WarningBackgroundColor = "DarkCyan"
$host.PrivateData.WarningForegroundColor = "Yellow"

At least I can read this better than the original color scheme. Play around with this and you’ll see it makes handling messages from the console a lot easier.
Window and buffer size
It’s possible to change these values to make sure all your data fits inside your console.
# Set the buffers
$size = $console.BufferSize
$size.Height = \[Math\]::Max(2000, $size.Height)
$size.Width = \[Math\]::Max(150, $size.Width)
$console.BufferSize = $size

# Set the window size
$size = $console.WindowSize
$size.Height = 50
$size.Width = 150
$console.WindowSize = $size
Setting the location
For me, it’s not always a good thing that the working directory is set to my home folder. This happens by default when you open a PowerShell console. If you open it with administrative privileges it points to the system32 folder of your Windows directory.
# Make sure the profile starts in the root of the C-drive
Set-Location C:\\
Conclusion
In the end, you can load all kinds of settings in your profile to make your life a little easier. From the settings above to creating aliases, starting other scripts, etc. I hope this was informative for you and maybe you’ll get started with profiles too.
